Adding window boxes to your home’s exterior is a simple yet transformative approach to enhance its aesthetic appeal and functionality. These charming additions bring color and vitality to any facade, turning ordinary windows into captivating focal points. Beyond the burst of blooms and greenery, window boxes increase your home’s curb appeal, potentially elevating its market value with an inviting, picturesque appearance.
Window boxes can be installed virtually any type of siding, from brick and stucco to vinyl and wood, making them versatile accessories suitable for a wide range of home styles. Whether you want to add a quaint, cottage-like charm or a bold, modern edge, the right window boxes can beautifully complement your home’s parental architecture. In this guide, we’ll walk you through the steps to securely and effectively install window boxes on different types of siding, ensuring they enhance your home’s beauty and longevity.
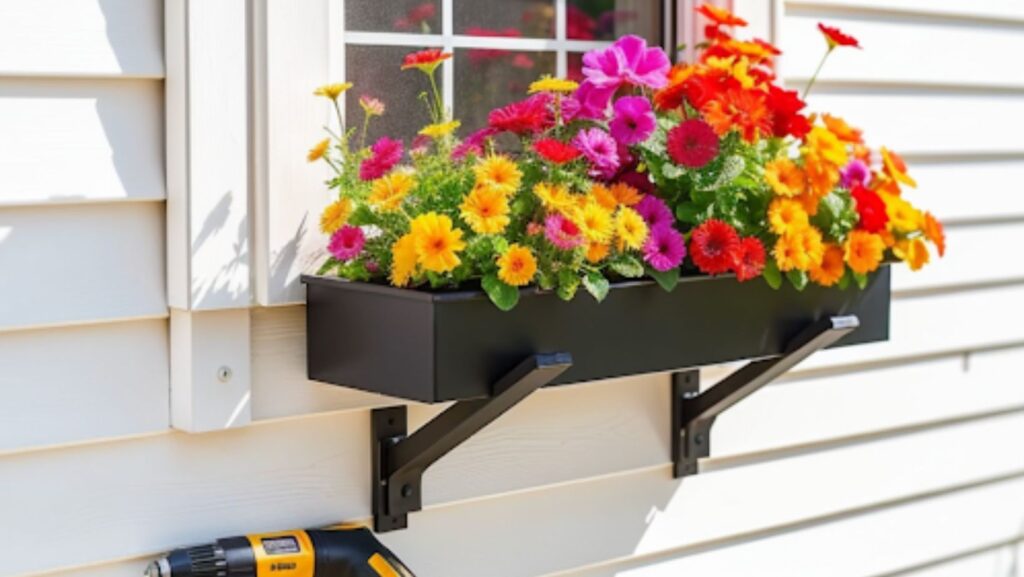
Tools and Materials Needed
To successfully install window boxes on your home’s siding, you’ll need a set of specific tools and materials. Here’s what you should gather before you begin:
- Drill: Essential for making pilot holes in your siding, which helps to prevent damage and ensures screws are securely fastened.
- Level: Crucial for ensuring your window boxes are perfectly horizontal, so water and soil do not spill out.
- Stud Finder: Useful for locating studs behind the siding, providing a sturdy anchor for the window boxes.
- Screws and Brackets: Select screws and brackets that are appropriate for the weight of your window boxes and the type of siding on your home.
- Painter’s Tape: Protects the siding during installation by preventing scratches and marks.
- Window Boxes: Choose boxes that fit your aesthetic preferences and are suitable for the conditions in which they will be displayed.
These tools and materials will help you achieve a secure and visually appealing installation.
Preparing for Installation
Proper preparation is key to installing window boxes that are both attractive and stable. Begin by planning the placement of the window box:
- Sunlight: The kinds of plants that grow well in your window box will depend on how much sunlight the space receives.
- Visual Balance: Position the box to complement the window and the overall facade of your home. The box should be centered and proportionate to the window size. For more details on installation techniques, you can check this guide on how to install window boxes on siding.
Next, protect your siding:
- Painter’s Tape: Apply painter’s tape along the area where you attach the window box. This tape acts as a barrier, protecting the siding from scratches or dents during installation. It’s particularly important when drilling or screwing into the siding to prevent any accidental damage.
Locating the Mounting Points
Ensuring your window boxes are securely mounted starts with locating the studs behind your home’s siding. This is crucial for both vinyl and wood sidings, as the studs provide a stable anchor point for the weight of the boxes filled with soil and plants:
- Using a Stud Finder: Run a stud finder along the siding to locate the studs. Mark each stud’s position with a small piece of painter’s tape. This tool is especially important for vinyl siding, which cannot support the weight of a window box on its own.
- Measuring and Marking: Hold the window box up to the desired position once the studs are marked. Use a level to ensure the box will sit evenly, then mark the siding through the mounting holes in the window box or bracket. These marks indicate where you will drill.
- Confirm Alignment: Before drilling, check the alignment of your marks with a level once more to ensure they are even horizontally and line up vertically with the detected studs for maximum support.
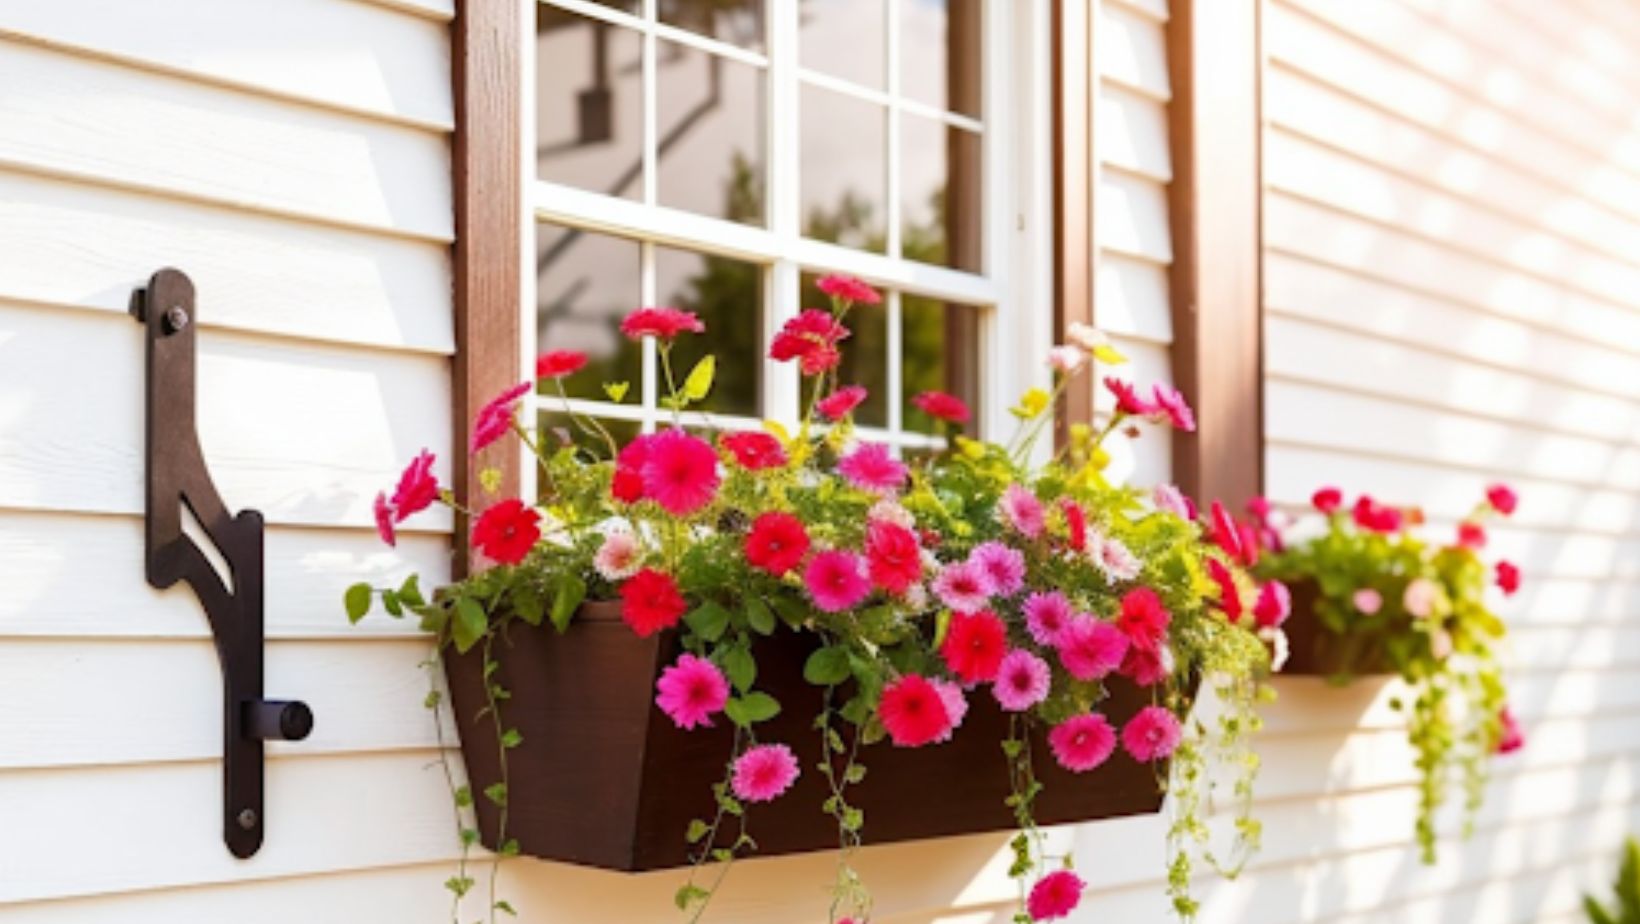
- Mounting the Brackets
With your mounting points located and marked, you can proceed to secure the brackets to the siding:
- Pre-drilling Holes: Drill pilot holes at the locations you have indicated. This step is crucial to keep the siding from splitting or cracking. To ensure a snug fit, choose a drill bit that is marginally smaller than the screws you intend to use.
- Attaching the Brackets: Place the bracket against the siding aligned with your pilot holes. Use a level to double-check that each bracket is horizontal before securing. Utilizing screws suitable for both the weight of the entire window box and the type of siding on your home, screw the brackets into position.
- Ensuring Level and Spacing: Verify that the brackets are level individually and in alignment with each other. This ensures that the window box will be perfectly horizontal and stable.
- Final Check: Once all brackets are attached, place the window box onto the brackets to test the fit. It should sit securely without any tilt or wiggle.
Proper bracket alignment and secure mounting are essential for ensuring the window boxes are safe, stable, and visually appealing. Taking the time to follow these detailed steps will provide a robust setup that will last through seasons and enhance the overall charm of your home.
Installing the Window Box
Once your brackets are securely mounted, it’s time to install the window box:
- Placing the Window Box: Carefully lift the window box and place it onto the brackets. Ensure that it sits evenly across all brackets to distribute the weight properly.
- Securing the Window Box: Depending on the design of your window box and brackets, this might involve different attachment methods. For most, you’ll use screws to attach the box directly to the brackets from underneath or from the back for hidden attachments. Drill pilot holes in the window box if it doesn’t already have them to prevent the wood from splitting.
- Ensuring Stability: Gently apply pressure to check the stability of the window box. It should not move or wiggle. If it does, tighten the connections between the box and the brackets until the fit is secure.
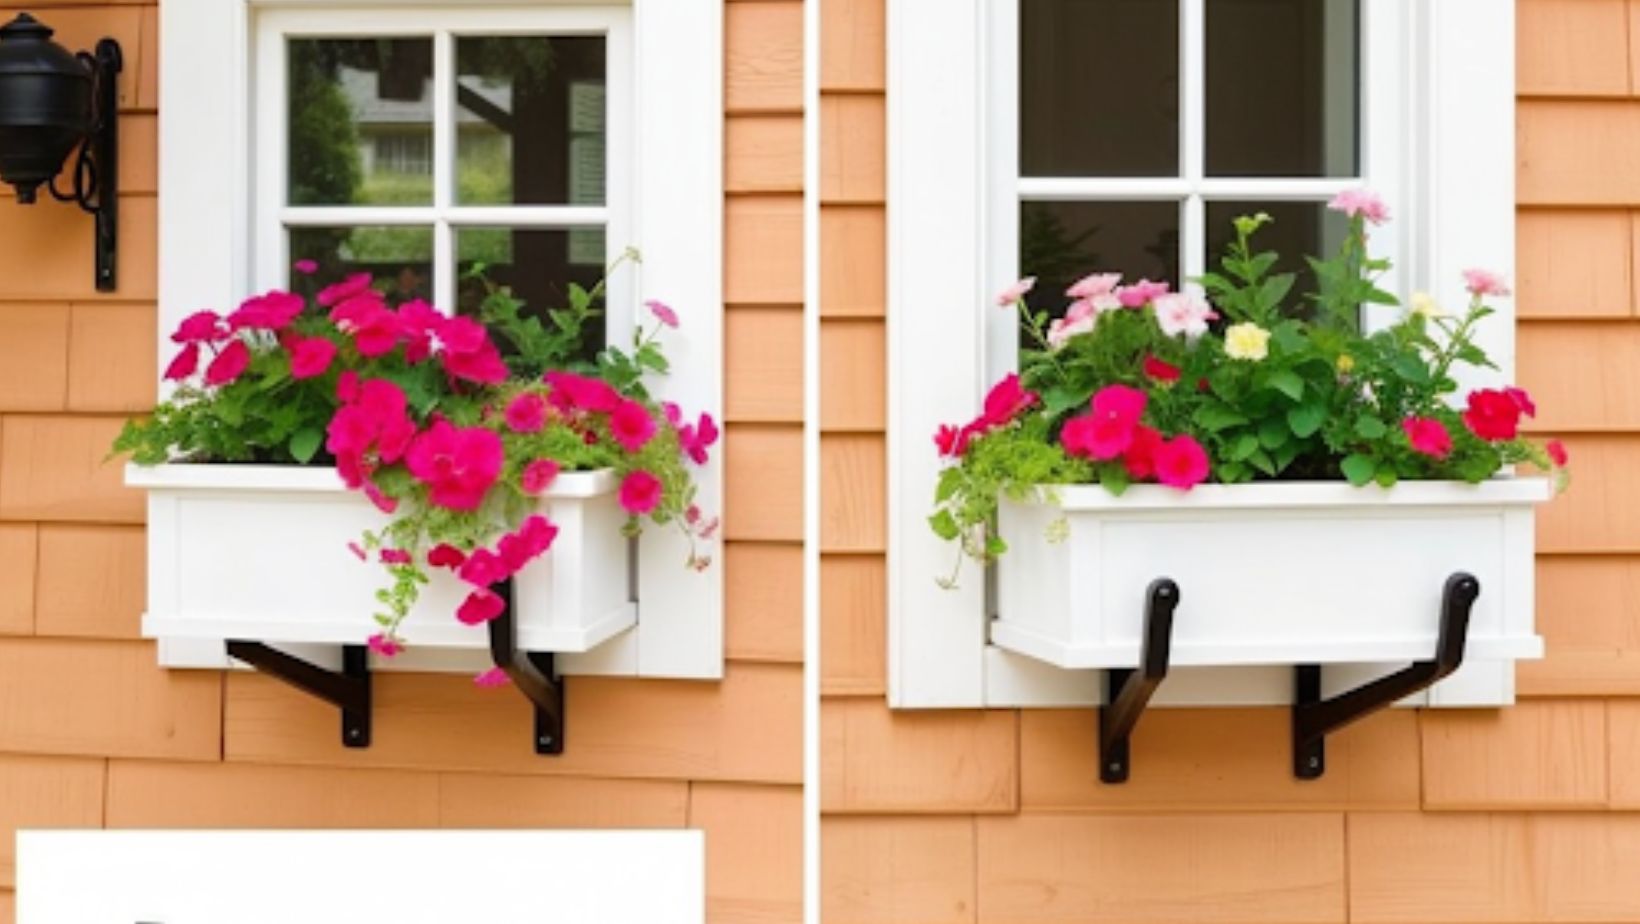
- Additional Security Measures
To further protect your home and enhance the installation of your window box, consider these additional security measures:
- Caulking: Apply caulking around the edges of the window box where it meets the siding. This prevents water from seeping behind the box and causing damage to the siding. For best results, make sure to use an exterior-grade, waterproof caulk.
- Decorative Brackets or Corbels: In addition to supporting the window box, decorative brackets or corbels can add an extra layer of aesthetic appeal. They come in various designs that complement the style of your home and window box, providing enhanced visual interest while adding robustness to the installation.
These additional steps not only secure the window box further but also integrate it more seamlessly into your home’s architectural style, ensuring both functionality and elevated curb appeal.
Maintenance Tips
Maintaining your window boxes ensures they remain beautiful and functional throughout the year. Plants should be replaced seasonally to keep the display vibrant and suited to the weather. Spring might call for bright annuals, while autumn can be graced with ornamental kale and mums. Regularly check the structural integrity of the window box and brackets, especially after severe weather, to ensure they remain secure and stable.
Inspect the brackets and the siding around the window boxes for any signs of wear or damage. Tighten any loose screws and replace any parts that show signs of corrosion or rust. Keeping the siding clean of debris and moisture buildup will also prevent decay and maintain the aesthetic quality of your home’s exterior.
Conclusion
Installing window boxes is a relatively simple project that can significantly enhance your home’s curb appeal. These charming additions beautify your windows and allow you to express your style through seasonal gardening. Following the practical steps outlined in this guide, you can transform your home’s exterior into a welcoming and attractive facade. Whether you’re an experienced DIY enthusiast or a novice, installing and maintaining window boxes is a rewarding endeavor that brings life and color to your home, making it stand out in the neighborhood.